When your home starts feeling a little uninspired, it’s time to refresh the space with some easy DIY decor projects. These ideas not only bring personality and charm to your rooms but also offer a sense of accomplishment when you see how much you’ve elevated your surroundings with your own creativity. Whether you're a seasoned DIY enthusiast or just looking for a weekend project, here are some fun, simple ways to transform your home from boring to beautiful.
DIY Projects for Floors, Candles, and Wall Decor
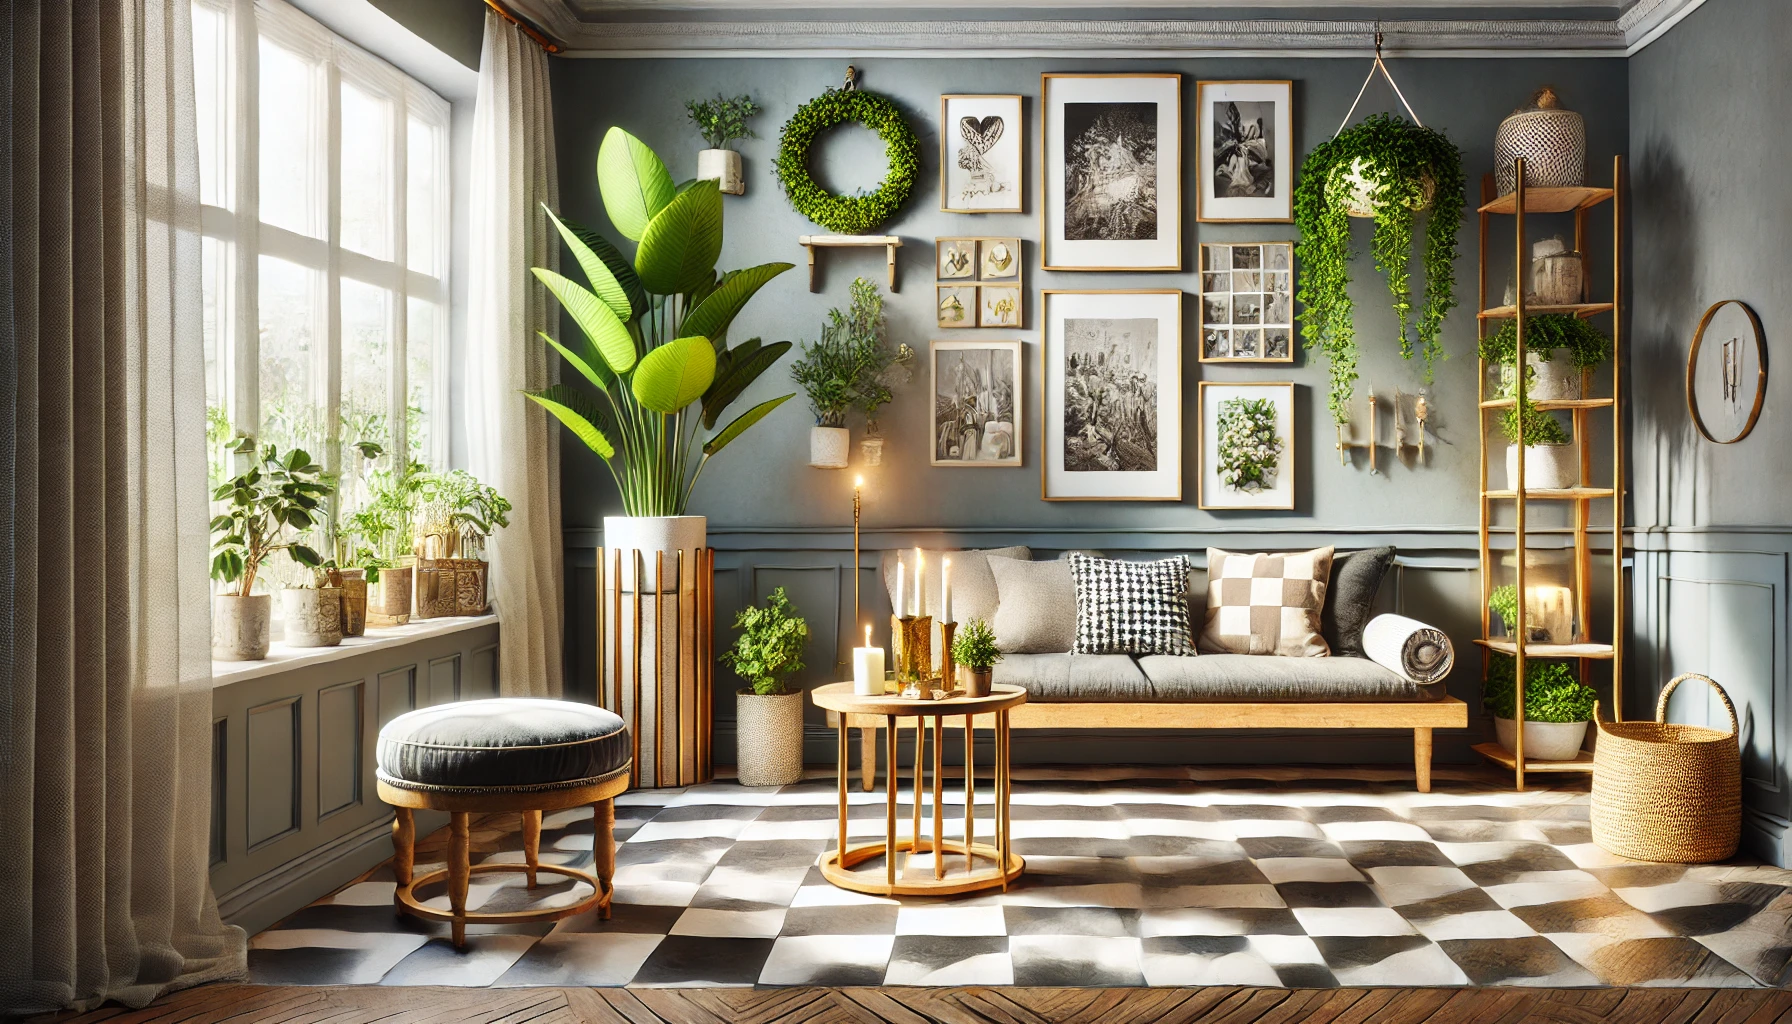
1. Hand-Painted Floors – Add Personality Underfoot
Floors are often an overlooked element in home decor, but with a little creativity, they can become a bold statement piece in any room. Hand-painted floors are an excellent way to personalize your space, and the project doesn’t require professional expertise. You can create anything from geometric patterns to simple checkerboard designs, adding a bespoke touch to your home.
Checkerboard design: This classic pattern works well in entryways, kitchens, and even bathrooms, bringing a farmhouse or vintage vibe to the space. Choose two contrasting colors—black and white or even softer shades like pale blue and cream—to match your room’s aesthetic.
Freehand patterns: If you prefer a more artistic touch, try freehanding a design or using stencils for shapes like stars, flowers, or abstract lines. This is your opportunity to play with colors and patterns, creating something uniquely yours.
Steps:
Clean and sand the floor to prepare it for painting.
Use painter’s tape to create a grid or mark the areas you want to paint.
Apply floor paint using a roller for larger areas and a brush for the edges or details.
Once dry, finish with a protective topcoat to ensure durability.
Hand-painting your floors adds an unexpected twist to your home’s design and can make even the simplest room feel like a designer space.
2. Floral Candlesticks – Add a Touch of Nature to Your Tablescape
If you're looking to enhance your dining room or living space, floral candlesticks are an easy DIY project that can bring a whimsical and personal touch to your decor. Plain candlesticks can be transformed with just a bit of paint and creativity.
Materials: Plain candlesticks, acrylic paint or paint markers, small paintbrushes, and a clear finishing spray to seal the design.
Design ideas: You can paint delicate floral designs, leaf patterns, or even abstract botanicals, depending on your style. Match the colors to your room’s decor, or go bold with contrasting shades for a more dramatic effect.
Steps:
Start by cleaning the candlesticks to ensure the paint adheres well.
Use paint markers or brushes to add floral designs, such as roses, vines, or sunflowers.
Let the paint dry completely, and then spray with a clear sealer to protect your design from wear.
Floral candlesticks are perfect for adding elegance to your dinner parties or simply creating a cozy, inviting atmosphere. The best part is you can customize the design to match the season or event, making these candles versatile throughout the year.
3. Egg Carton Flowers – Sustainable and Charming
For a project that’s both eco-friendly and fun, egg carton flowers are an excellent way to upcycle materials while adding a pop of color to your home. This project is perfect for all ages, and the end result is a whimsical and charming decor piece.
Materials: Empty egg cartons, scissors, paint, glue, and wooden skewers or floral wire (optional).
Design: These flowers can be painted in a variety of colors to suit your decor. Whether you create a bouquet of red roses or a mix of bright sunflowers, these hand-crafted flowers bring a joyful and artistic touch to your home.
Steps:
Cut the egg carton into flower shapes by trimming each cup into petals.
Paint the flowers in your chosen colors, and allow them to dry.
Glue the flowers onto wooden skewers or floral wire if you want to create a bouquet. Alternatively, glue the flowers to a canvas for a creative wall display.
Not only are egg carton flowers a sustainable way to decorate, but they also bring a playful, DIY vibe to any room. This project can be adapted to suit your color preferences or even used for special occasions like birthdays and holidays.
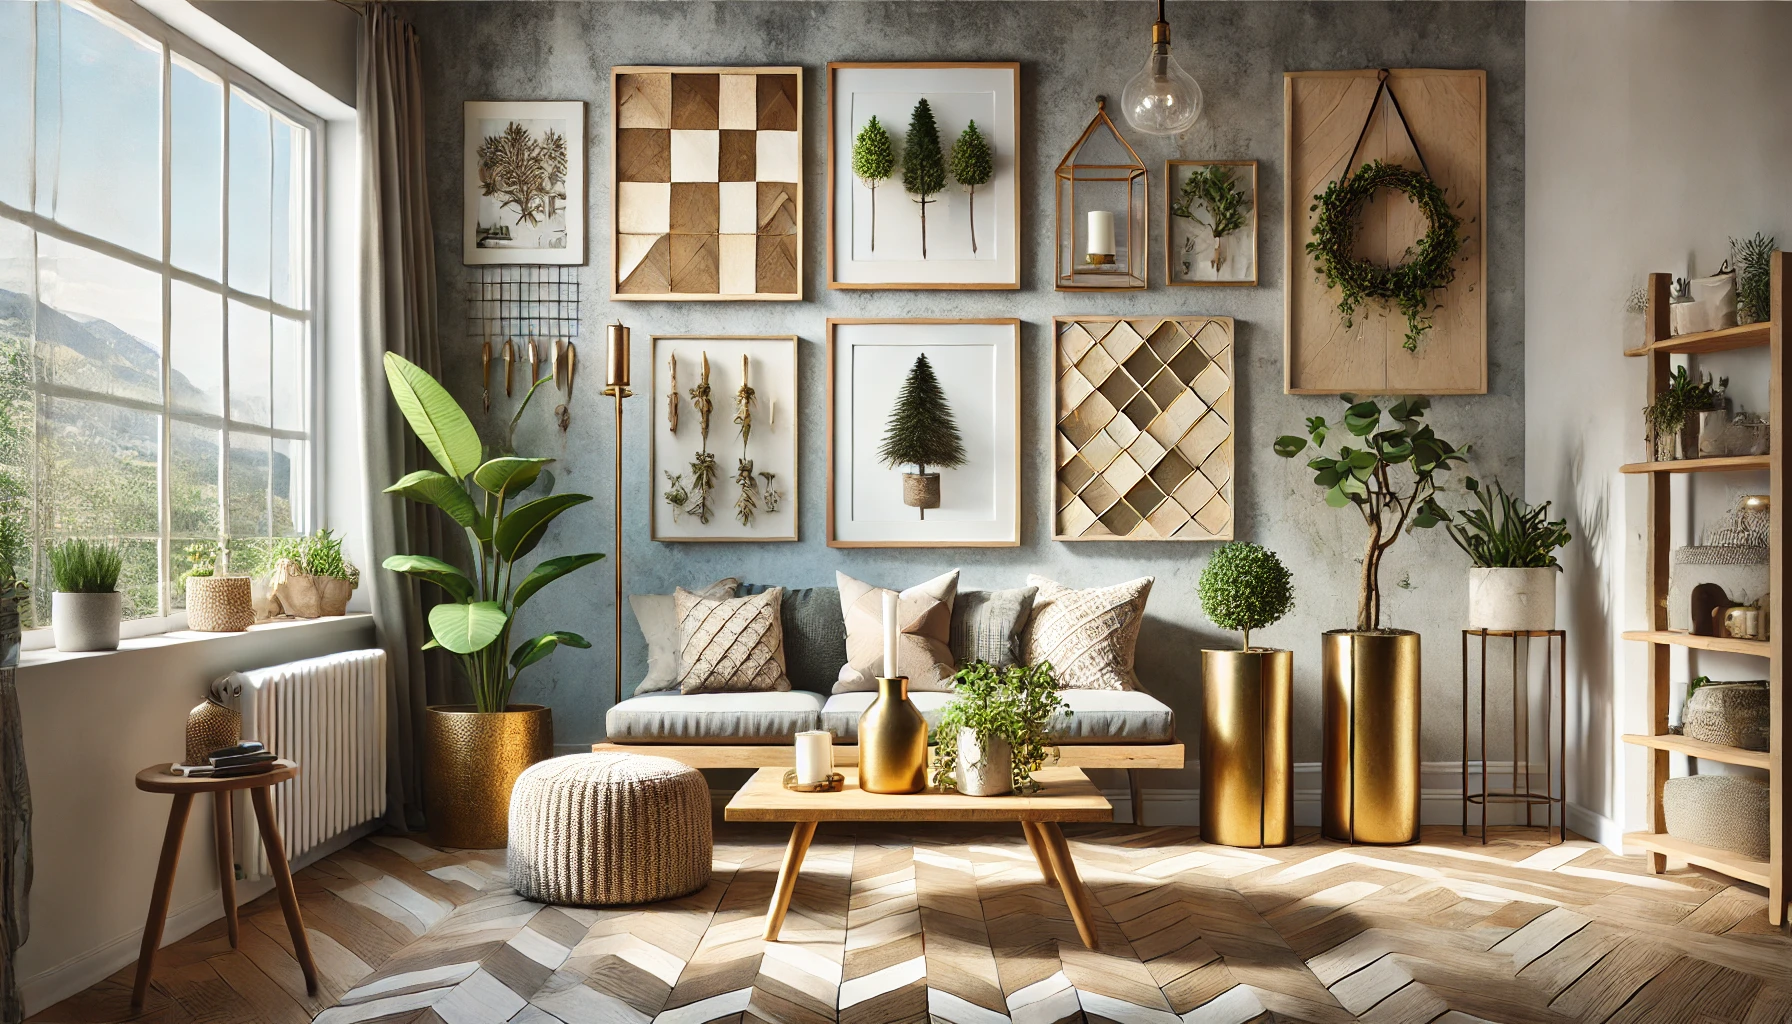
4. DIY Wood Plant Stand – Showcase Your Greenery in Style
Indoor plants are a fantastic way to breathe life into your home, and a DIY wood plant stand is the perfect way to display them. This project is beginner-friendly, requiring only basic woodworking skills, and it can be completed in under an hour.
Materials: Wooden dowels or scrap wood, screws, wood glue, a saw, and sandpaper.
Design: You can choose to make a simple stand for one plant or build a multi-tiered structure for displaying several pots. The natural wood tones add warmth and complement the green of your plants.
Steps:
Cut the wood to size, depending on how tall you want the plant stand to be.
Sand the edges to create a smooth finish.
Assemble the stand by gluing and screwing the pieces together. Allow the glue to dry fully before placing your plant on top.
This project is a stylish way to elevate your plants and add a modern, minimalistic touch to your decor. Whether placed in the living room, bedroom, or bathroom, your DIY wood plant stand will highlight your greenery and create a beautiful focal point.
5. Hanging Photo Collage – A Personal Touch to Your Wall
Displaying your favorite memories has never been easier with a hanging photo collage. This project allows you to rotate pictures as often as you like, making it a dynamic decor piece that keeps your home feeling fresh and personalized.
Materials: A wooden board or branch, string or twine, small nails or hooks, clothespins, and photos.
Design: Arrange the photos in a neat grid or let them hang at varying lengths for a more relaxed, bohemian feel. You can also mix in other items like postcards, leaves, or even small artworks for added texture.
Steps:
Attach nails or hooks to the board or branch at even intervals.
Tie string or twine to each nail, leaving enough space for the photos to hang.
Use clothespins to attach your photos to the strings, and change them out whenever you want a fresh look.
A hanging photo collage adds a warm, personal touch to your home and is a fantastic way to keep your favorite moments on display. This project is perfect for hallways, bedrooms, or even your home office, bringing personality and nostalgia into any space.
6. Teak Wall Tiles – Create a Spa-Like Atmosphere
If you're dreaming of a bathroom upgrade but don't want to commit to a full renovation, teak wall tiles offer a simple yet transformative solution. These tiles bring a touch of nature indoors, creating a warm and spa-like ambiance. Known for their durability and resistance to moisture, teak is the perfect material for bathrooms or areas that experience high humidity.
Materials: Teak wall tiles, tile adhesive, and a level.
Design: You can apply teak tiles to one feature wall, behind your sink, or even around the bathtub to elevate the space. The natural wood grain adds a calming, earthy feel, making your bathroom a relaxing retreat.
Steps:
Measure the wall area and cut tiles to fit if needed.
Apply tile adhesive to the back of each tile and press them firmly onto the wall, using a level to ensure a straight installation.
Once dry, clean any excess adhesive, and admire your new, luxurious bathroom upgrade.
Teak wall tiles give your space an instant facelift, bringing a modern, high-end look without the need for major renovations. It’s the perfect way to add sophistication and texture to your home.
7. Gilded Candle Holders – Add Glamour to Any Room
Transforming plain glass jars or old candle holders into gilded candle holders is a quick and easy way to bring a little glamour into your home. With the simple addition of gold leaf, you can elevate everyday items into elegant decor that shines.
Materials: Gold leaf sheets, adhesive, soft brush, and clear sealer.
Design: Gilded candle holders work well as a centerpiece for dining tables, as mantle decor, or on a bedside table. You can apply the gold leaf around the base of the jar or create abstract designs for a more modern look.
Steps:
Clean the candle holder thoroughly to remove any dust or dirt.
Apply adhesive to the area where you want the gold leaf to stick.
Gently apply the gold leaf sheets, using a soft brush to smooth them out.
Seal the design with a clear sealer to protect the gold leaf from wear and tear.
This project is an excellent way to add a touch of elegance to your home without spending a fortune. Gilded candle holders are perfect for special occasions or for adding a little sparkle to your everyday decor.
8. No-Sew Window Seat Cushion – Comfort Without the Hassle
Window seats are cozy spots that can instantly make a room feel more welcoming, and adding a no-sew window seat cushion is the perfect way to make them even more inviting. The best part? This project doesn’t require any sewing skills! You can refresh your window seat in just a few simple steps.
Materials: An old cushion or foam padding, fabric of your choice, fabric velcro, and scissors.
Design: Choose a fabric that complements your room’s color scheme, or go bold with a bright pattern. The no-sew cushion is easy to remove and clean, making it a practical and stylish addition to your home.
Steps:
Cut the fabric to the size of your cushion or foam padding, leaving extra fabric to wrap around the edges.
Wrap the fabric around the cushion like a present, folding the edges neatly.
Secure the fabric with fabric velcro, ensuring it stays snugly in place.
Place the cushion on your window seat, and you’re done!
This project is a great way to add both comfort and style to your window seat without the hassle of sewing. Plus, it’s easy to switch out the fabric whenever you want a new look, making this a versatile decor solution.
9. Straw Hat Display – Functional and Stylish Wall Art
Turn your collection of straw hats into a functional piece of wall art by arranging them in a creative display. Not only does this project help you organize your hats, but it also brings a rustic, bohemian vibe to your decor. It’s an easy, budget-friendly way to make your walls more interesting.
Materials: Command hooks or small nails, measuring tape, and straw hats.
Design: You can arrange the hats in a straight line, a grid pattern, or in a more abstract layout to suit your space. The hats themselves add texture and a touch of nature, making this display perfect for entryways, bedrooms, or even hallways.
Steps:
Use a measuring tape to evenly space out where you want the hats to hang.
Attach Command hooks or nails to the wall at each point.
Hang your hats on the hooks and adjust them until they sit in your desired arrangement.
This project is not only a great way to keep your hats organized, but it also serves as a creative and eye-catching decor element. The best part is you can easily add or remove hats as your collection grows or your style changes.
10. DIY Sponge Wallpaper – Create Unique Patterns Without Commitment
If you're looking for an easy way to transform a plain wall without the commitment of traditional wallpaper, DIY sponge-painted wallpaper is the perfect solution. This technique allows you to create unique patterns with minimal materials and maximum creativity. Whether you want a bold accent wall or a subtle pattern, sponge painting gives you the freedom to design exactly what you envision.
Materials: A kitchen sponge, paint, painter’s tape (optional), and a paint tray.
Design: You can use a rectangular sponge to create a brick effect, or cut the sponge into different shapes like triangles or circles for a more geometric pattern. Experiment with colors to find the perfect combination for your room.
Steps:
Cut the sponge into the desired shape if necessary.
Pour paint into a tray and dip the sponge lightly into the paint.
Press the sponge onto the wall in a repeating pattern, spacing it evenly. You can use painter’s tape to create straight lines or borders if needed.
Let the paint dry, and admire your new custom “wallpaper.”
This project is ideal for renters or anyone who wants a change without the long-term commitment of traditional wallpaper. Plus, if you get tired of the design, it’s easy to paint over and start fresh with a new look.
Conclusion: Transform Your Home with Easy DIY Decor Projects
Bringing your home from boring to beautiful doesn’t have to be a daunting task. With these simple yet impactful DIY decor projects, you can elevate your space without breaking the bank or requiring extensive skills. Each project offers the opportunity to add personal touches, whether through creative painted floors, luxurious teak wall tiles, or even fun, functional displays like straw hat arrangements. The beauty of DIY decor lies in its flexibility—you can adapt these ideas to fit your own style, color palette, and space requirements.
From the warmth of natural wood plant stands to the glam of gilded candle holders, these projects combine both form and function, ensuring your home looks stunning while also providing comfort and usability. Whether you’re tackling one project at a time or transforming an entire room, you’ll be amazed at how small changes can completely refresh the atmosphere of your home.
The best part? DIY projects allow you to express your personality. They give you the creative freedom to experiment with colors, materials, and textures, crafting a living space that truly reflects who you are. And the satisfaction of creating something beautiful with your own hands is unmatched.
So, why not get started today? Pick one of these easy DIY decor projects, gather your materials, and watch your home transform into a space that’s uniquely yours. With a little imagination and effort, you’ll go from boring to beautiful in no time. Happy decorating!